PowerShell 7 GA
The moment for the largest happening since PowerShell v1 has now happened and that is the general availability of PowerShell 7!
Install on a Mac with OS X
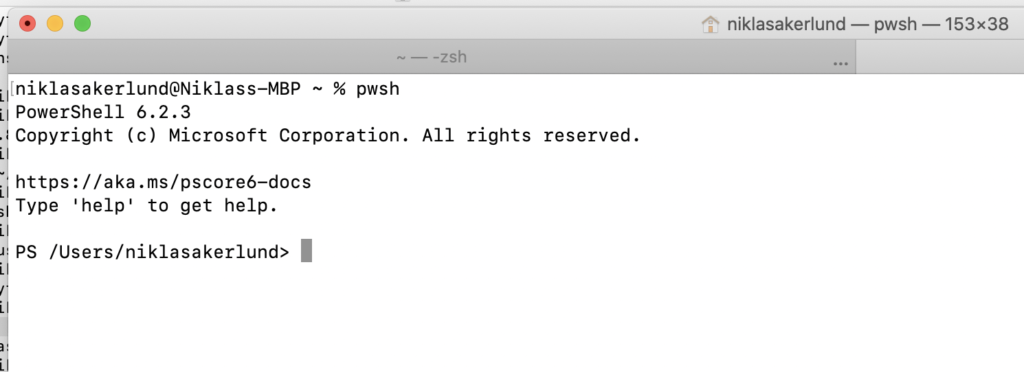
So I had PowerShell Core installed on my mac and also the 7 preview but now I wanted to update with the latest version. Running the pwsh on a terminal I got the 6.2.3.
Of course using Brew I easily can update this to version 7
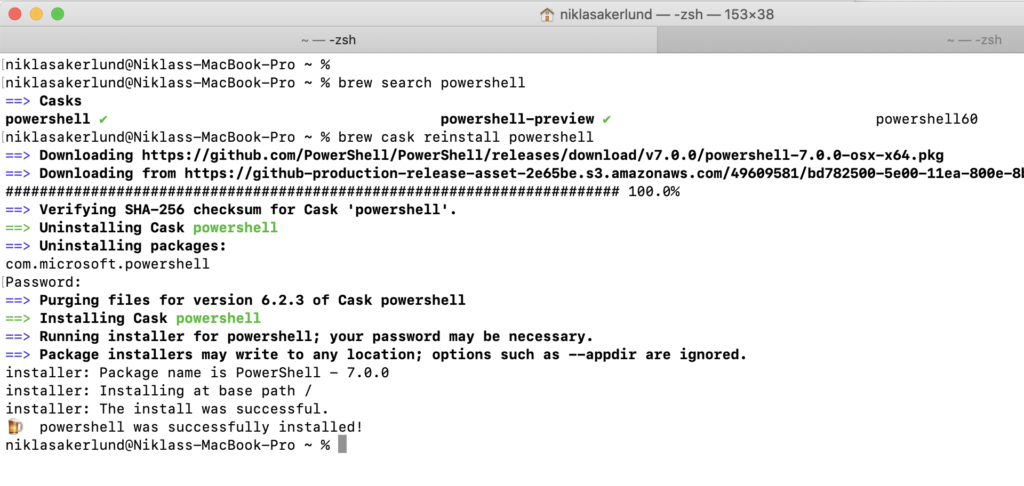
The brew cask package powershell was already installed as version 6 so what I had to do was force a reinstall using brew cask reinstall powershell and thus get the right version. If you did not have it since before you can use brew cask install powershell and if you do not have brew installed you can check here how to get it.
If I want a short cut to the pwsh on my OS X terminal I add a profile with the settings and then get a nice Windowsy-feeling ?
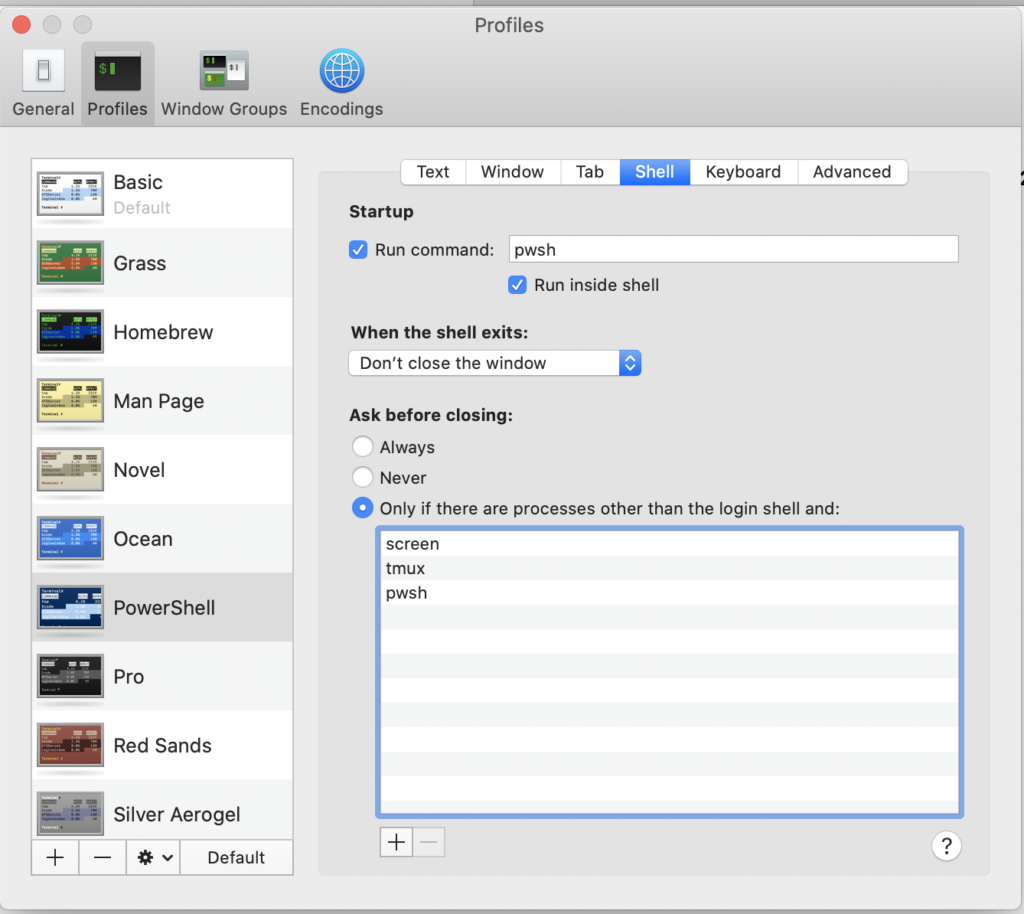
And voila I can easily start a terminal with PowerShell 7

I will do a followup post on the features and new stuff in PS7 later but this gets you started!
Happy PowerShelling!