Preview of Azure Site Recovery in the new Azure Portal
Finally the Azure Site Recovery service can be reached from the new Azure Portal and the ARM way of doing things! It has been possible to use ASR with PowerShell and the new ARM way for some months but only for a subset of the site recovery services (VMM/Hyper-V).
Not a day to soon! I have a customer that we have engaged in the CSP program and as that is based on the new, the old ASR was not possible to use with that subscription and use another subscription just for ASR sucks..
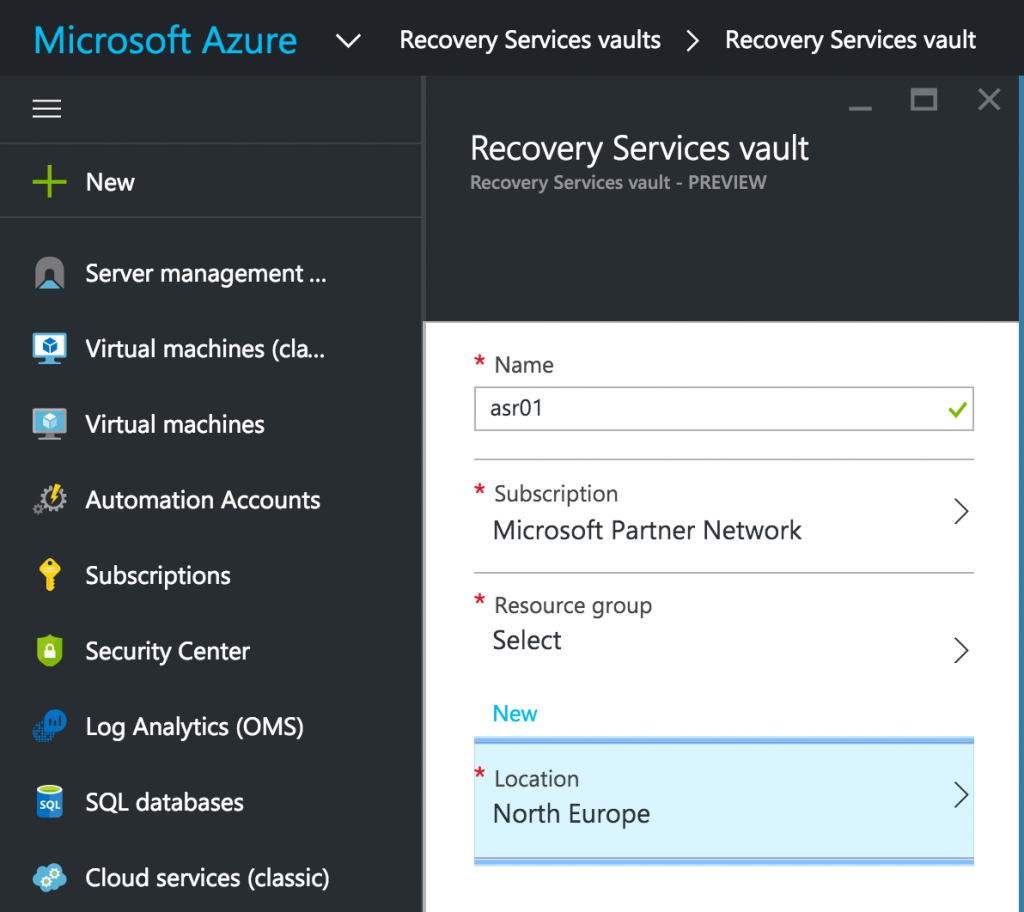
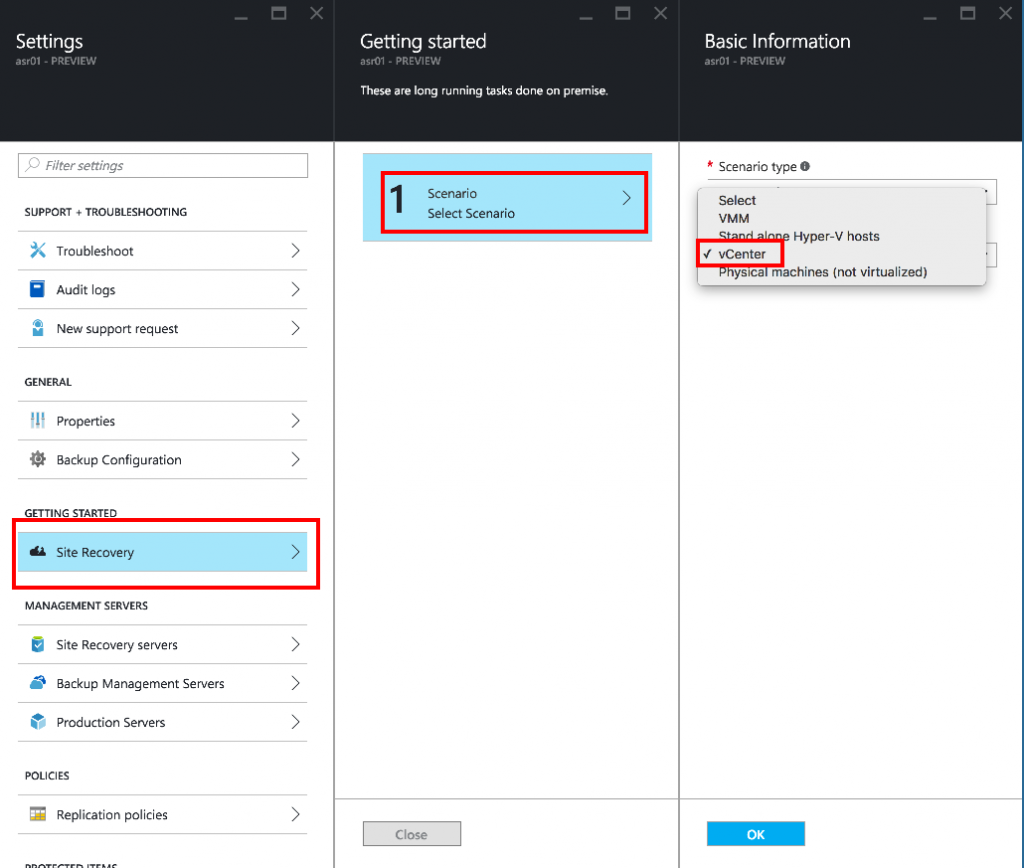
As you can see on the following screendump I go into the “Getting Started” to select scenario and then follow the guide to complete and in the case with physical and VMware I need to install a process/configuration server on-premise.
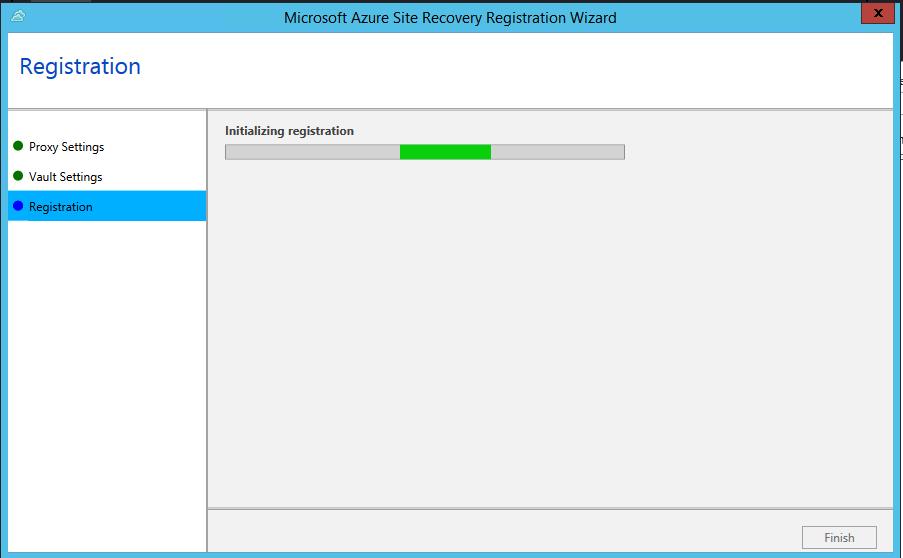
Once installed on a Windows 2012 R2 server I connect it to the ASR with the registration file,
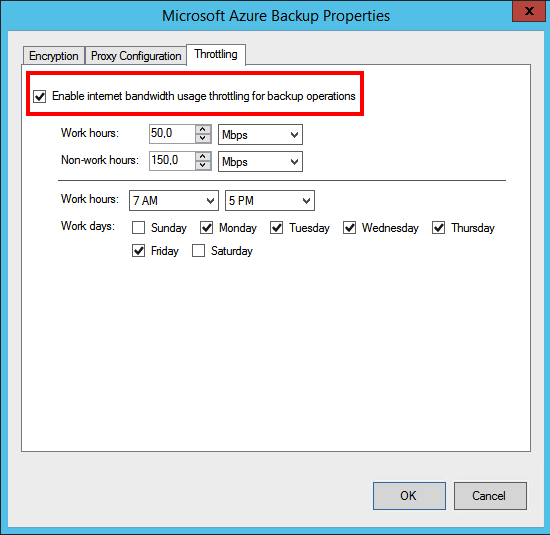
One thing to think about using this service is that the process server will if you do not go in and configure the bandwidth settings eat all available internet capacity as my customer so nicely explained…
Configure this to something that works for both you and the company, and with the enhanced ASR where you do not need additional servers in Azure you find this setting in the backup properties.
It is quite easy to start and protecting your workloads and remember that the first 30 days are free 🙂