VMM agent disappeared on hyper-v host during update

This week I was working with a customer environment and after successfully upgraded their test VMM environment to UR4 it was now time for the production environment.

The UR4 installation went fine and without issues. After that I wanted to update the agents on the Hyper-V hosts. I used PowerShell of course and all agents except one was successfully updated and started reporting to VMM.

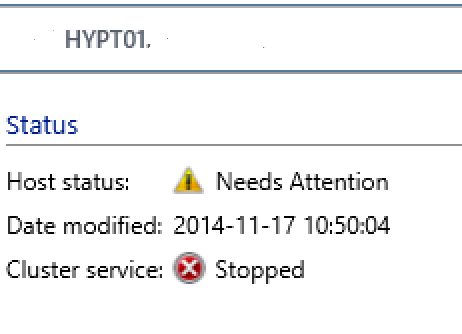
I started to examine the one that failed and could see in jobs that it had timed-out:

Screen Shot 2014-11-28 at 15.50.15

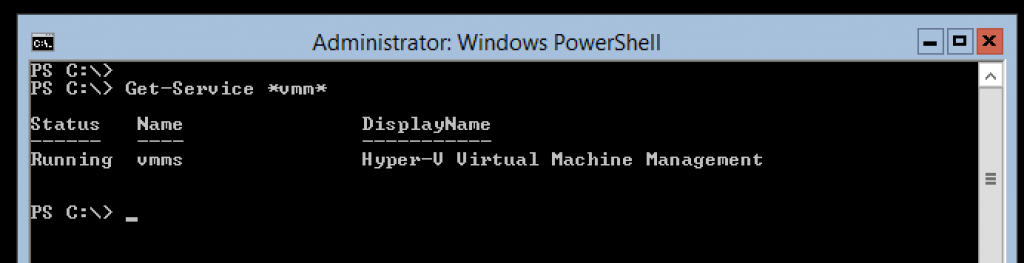
And checking on the host I could see that the uninstall of the old agent had been done as the vmm agent service was gone. As this was a hyper-v host in a cluster and the cluster was slightly over allocated I could not remove the node from vmm and then add it in again so,

Screen Shot 2014-11-28 at 15.43.50

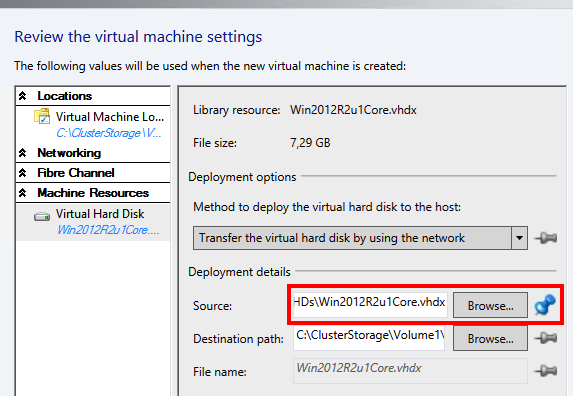
Based on this post I went for the way to try to do a manual install on the host and copied the latest agent that i could find in the vmm folder C:\Program Files\Microsoft System Center 2012\Virtual Machine Manager\agents\Amd64\3.2.7768.0 to the host c:\temp

Screen Shot 2014-11-28 at 15.43.10

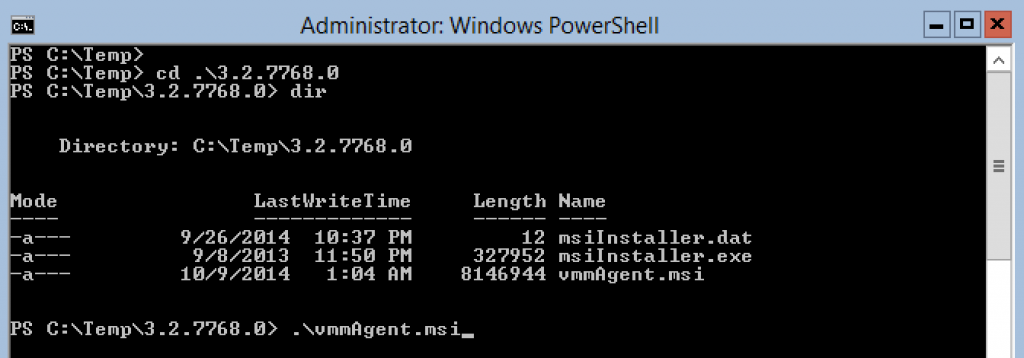
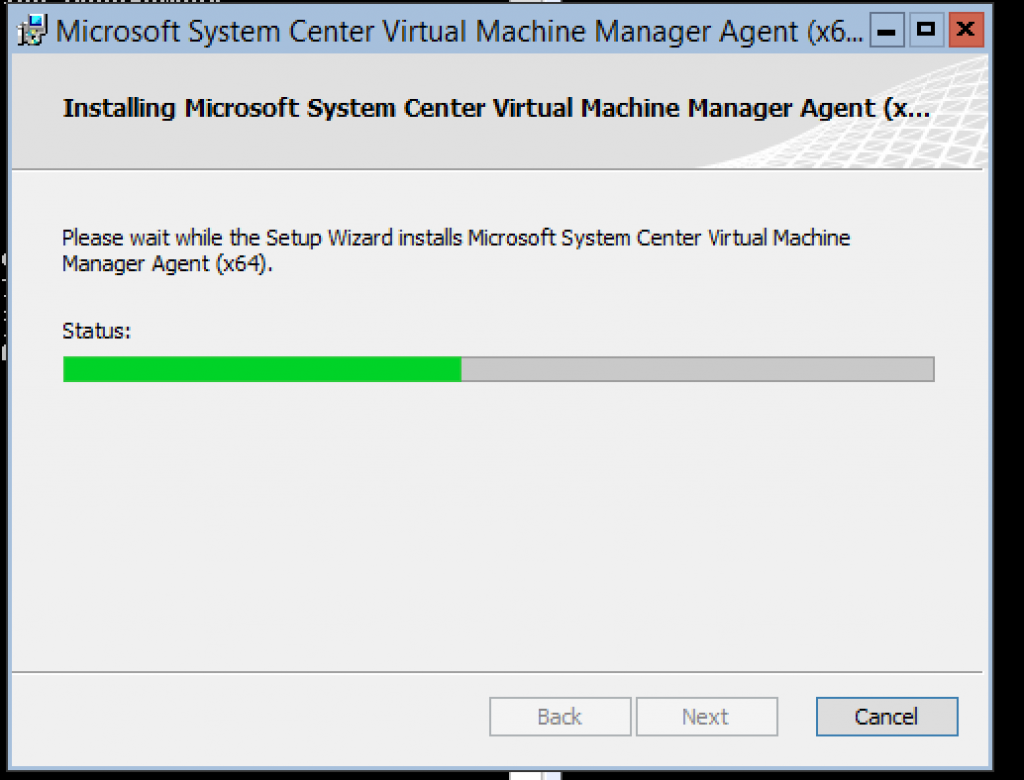
Important during the installation wizard was to let the perimiter host dialog checkbox to be unchecked as this was a host already in vmm and also in the same domain.

Screen Shot 2014-11-28 at 15.44.42

And doing a check on the services after the install was finished I could see that the VMM agent was installed and now running

Screen Shot 2014-11-28 at 15.45.36

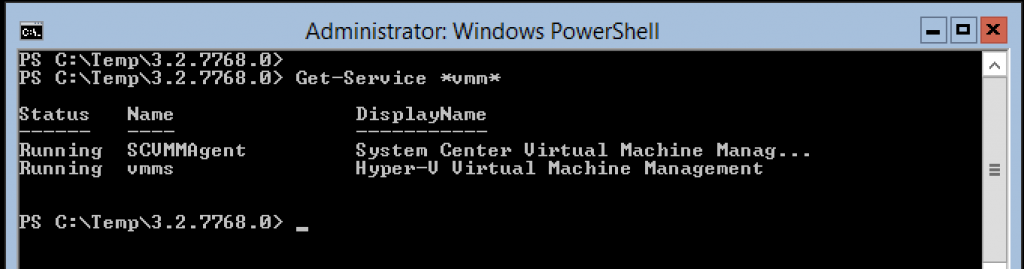
Once that was completed I could do a refresh in VMM and the host was reporting again and could be managed 🙂

Look twice when deploying VM´s in VMM or get the wrong vhdx

Today I have been working with some updates on a customers Hyper-V environment and their host images (that I use for bare-metal deploy). The VMM server has all the updates with VMM 2012 R2 UR4 and also Windows Server with November update, although this issue goes further back than that and based on Brian Ehlert´s post you can see that it is by design 🙂

I wanted to deploy the vhdx to a host to update with settings and windows updates. In my library it looked as following and i right clicked on the marked vhdx and selected create VM.

Screen Shot 2014-11-28 at 14.42.07

But when I had deployed it and started working on it with patching and configuring, somethings did not seem to be right, and looking in the folder of the newly created vm revealed this:

Screen Shot 2014-11-28 at 14.52.43

As you can see it is the old vhdx that has been copied from the library, initially I thought that I maybe selected the wrong vhdx and recreated another VM with the exact same result!

Why did this happen? Well as I mentioned above with Brians post, this is because I have not changed the details with family name and version of the VHDX objects in the VMM database so it just selects one that seems to be right based on the inital request. wrong or right?

If it is by design, then I would say that it should show in the wizard and not as you see I get!

In the wizard and the HW tab it seemed like I had the right vhdx, and also when continuing to the next view and review stage of the provisioning phase, you can see that it said right library resource and also in the bottom with the file name it looked correct,

Screen Shot 2014-11-28 at 14.43.44

but when I investigated things a bit further and checked the whole path of the source it revealed the nasty _old.vhdx

Screen Shot 2014-11-28 at 14.45.00

And after I pressed “Browse” and selected the right VHDX and started the deploy everything worked as intended..

Screen Shot 2014-11-28 at 14.45.38

So what is the lesson here? Either clean up your old vhdx version in the VMM library or set the version and family name differently and that not only in the end of the filename 🙂

Happy WVMMeekend!

a not so normal CBS.log size of 57 GB on a Hyper-V host

I was working with a customer and updating their test environments VMM server with the new UR4 that have been released and noted that one of the cluster nodes was not working as intended.

Screen Shot 2014-11-17 at 10.56.32

The Event logs also told me that the cluster service disliked the lack of disk space,

Screen Shot 2014-11-17 at 12.29.06

And I could also see in the logs after running the powershell commands for updating the Agents on all hosts (right-click on multiple is not the optimal way 🙂 )

Screen Shot 2014-11-17 at 10.57.16

But this quite clearly showed that the server was not healthy and full on disk, but why? Well I had to find what was eating up my space like that. The server was a Bare-Metal deployed Windows 2012 R2 with all updates and of course running as a core because a Hyper-V server do not need the full GUI! Still it should not be larger than about 9GB on a disk that is 40GB!

Screen Shot 2014-11-17 at 10.54.47

I found the folder containing the bad boy, still no real clue why the CBS.log could grow beyond the wildest of sizes and it was cleverly  auto compacted and disk fotprint of about 29GB but still 57GB large. Read a blog post about the Windows Trusted Installer going bananas but in my case I could not stop the service to be able to delete the large file.

Screen Shot 2014-11-17 at 11.16.36

A reboot did the trick and rotated the CBS logs and now I could remove it,

Screen Shot 2014-11-17 at 11.28.04

My C: was now breathing again 😛

Screen Shot 2014-11-17 at 11.28.44

And after this I was able to update the VMM agent and the node joined the cluster as a happy member.. will keep my eyes on this server to see if it was just a one time problem with the CBS.log or if happens again….


Hot-add/remove Memory on a Hyper-V VM in Technical Preview

I have been evaluating the new version of Hyper-V in technical preview of Windows and the new hot-add/remove functionality is quite cool and it works with both memory and network cards.

As you can read on technet page here, for the memory it has to be a virtual machine with either Windows Server Tech Preview or Windows Tech Preview running as a Generation 2 VM.

I have as you can see a VM with 768 MB ram and no dynamic memory enabled.

Screen Shot 2014-11-11 at 21.01.16


And here you can see that I can change the running VM`s memory both up and down, for the Windows Tech Preview I could go so low as 340 MB…

Screen Shot 2014-11-11 at 21.18.32


the command is Set-VMMemory -VMName xxx -StartupBytes 1024MB but you can also change the memory assigned in the Hyper-V Manager GUI.

Screen Shot 2014-11-11 at 22.05.44

And if you already have allocated the memory inside the VM with a SQL or a Minecraft server or another application you cannot shrink the memory bellow that:

Screen Shot 2014-11-12 at 09.54.04