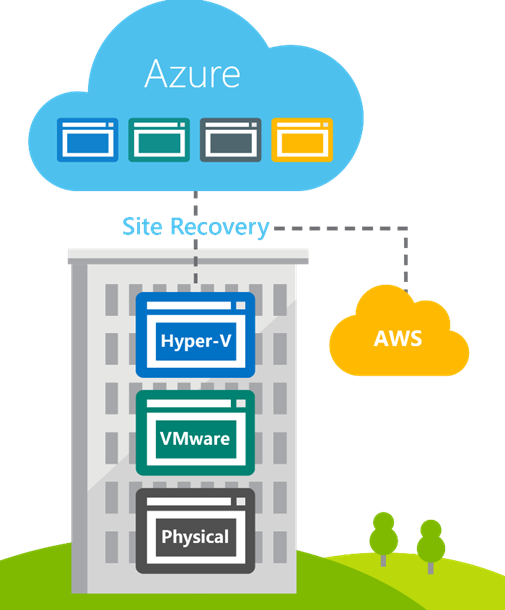
This is some awesome news for companies that want an easy way to create a DR plan and site for their most important systems and not only for those lucky guys that already run Hyper-V and can utilize Hyper-V replica.
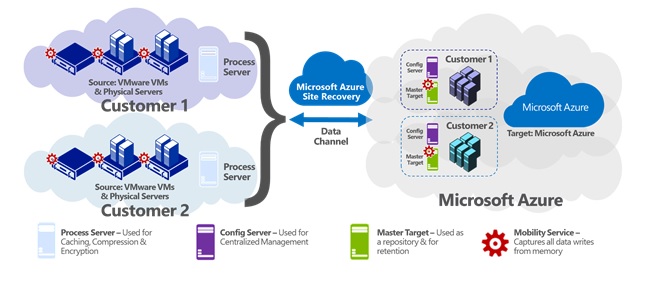
I did some evaluations for a presentation about ASR for VMware VM´s when it was in preview and it requires some additional VM´s for management of the replication such as the process server and on the Azure side, Master target and config server. If you like me evaluate this with an MSDN Azure subscription, be sure to shut down the servers on the Azure side when not using it as it otherwise will drain your money 🙂 , that of course should not be done when in production. It uses when protecting Windows workloads the built in VSS to create consistent replicas.
And the supported OS´s are the ones supported in Azure:
Windows 2008 R2 SP1
Windows 2012
Windows 2012 R2
So if you still use Windows 2003 and earlier OS then you need upgrade before utilizing this.
This session will focus on how Chef, a systems and cloud infrastructure automation framework, can manage both Windows and Linux workloads on Azure or any physical, virtual location no matter the size of the infrastructure easily.
We will also look at how Chef can interact with PowerShell Desired State Configuration to deliver a consistent and compliant infrastructure. In this session you will learn the basic paradigms of Chef, launching VM instances and deploying applications to these instances. It is DevOps times now with a faster and agile world where the IT-Dinosaurs will have to watch out!
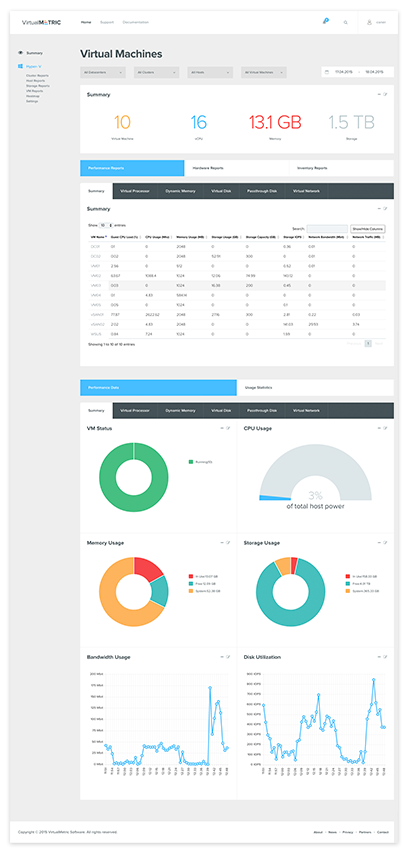
I am very proud to tell you that I have a new sponsor on my blog and that is VirtualMetric.
Have you not heard about them then it is time to go and check out their website at http://www.virtualmetric.com to learn more because they have an awesome monitoring and reporting platform for your Hyper-V environment!. It is agentless and it also reports Hardware status for the hosts via IPMI.
There will be a more thorough post about how to get the platform up and running and how to use it later on!
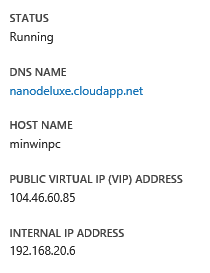
I have been evaluating Nanoserver that was released and wanted to try if I could get it to work in Azure IaaS as a VM. And as you can see, it works!!
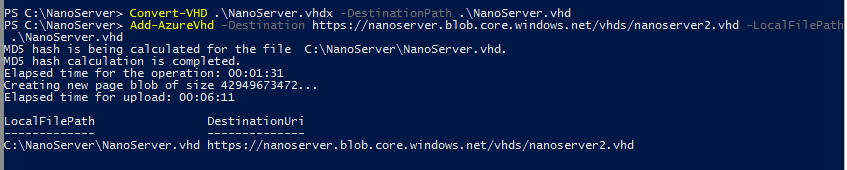
I had created a VHDx with the packages that was described on the “getting started with Nanoserver” So first of all as only vhd is supported I had to convert the disk and then I used Azure PowerShell to upload it to Azure storage:
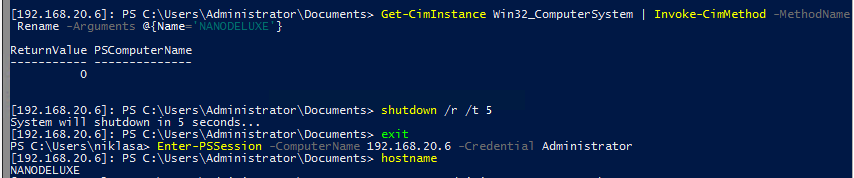
After creating a VM I tried to connect to it from remote over the Internet but that did not work, probably something that needs to be configured with winrm setup on the Nanoserver or I just missed something. I created a VM with Winserv TP2 in the same Azure network and tried to connect to the nanoserver which succeeded:
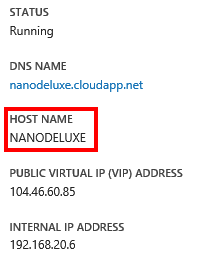
And I can also change name and it reflects on the Azure portal:
I have been helping a customer with their environment and we had a problem that took me a while to figure out.
They were baking reference images for their SCCM environment and the best and easiest way is to use VM´s of course. The problem that occurred was that when the image was being transferred back to the MDT server the VM rebooted after half of the image had been uploaded….
So what was doing this crazy behavior? It took me a little while before I realized what it was all about and it had to do with the Hyper-V cluster platform and resilience and heartbeat functionality!
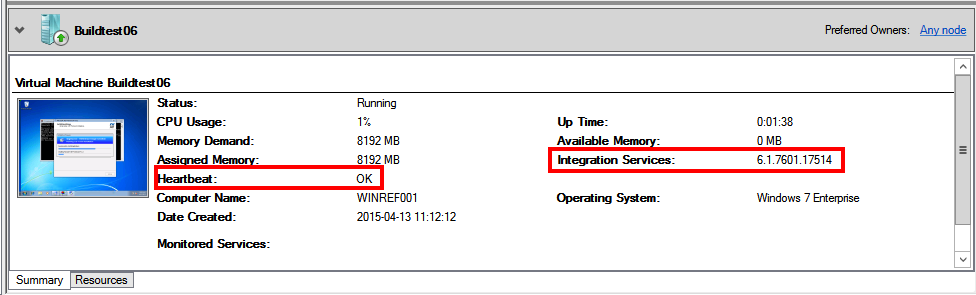
So at first the build VM boots from the MDT image, no integration tools yet then but then it restarts to install applications and stuff within the OS and as the customer works on a Windows 7 image you can see it starts to send heartbeat to the host.
As you might know, clients and servers since Windows Vista and 2008 have integrational services by default in them although best practice is to upgrade them as soon as possible if the VM shall continue to reside in Hyper-V.
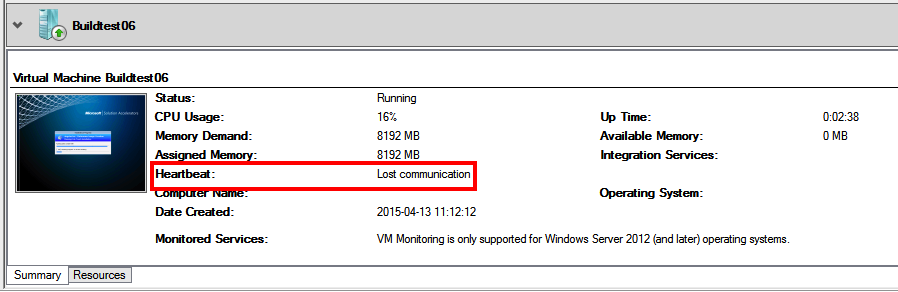
The interesting part in this case was that the OS rebooted within itself when it was finished with sysprep to start the MDT image for transferring the WIM back to the MDT server and the cluster/hyper-v did not notice this and thus it thought that the heartbeat stopped.
And as it was a cluster resource this heartbeat loss was handled by default, and guess what, rebooted!
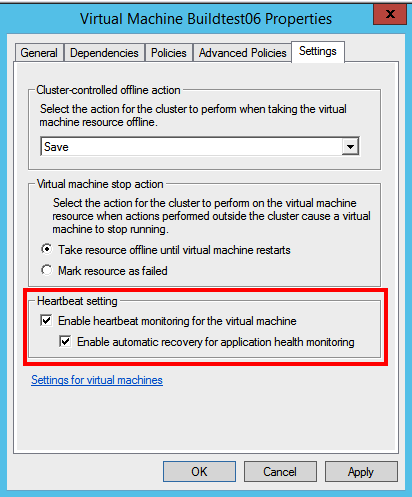
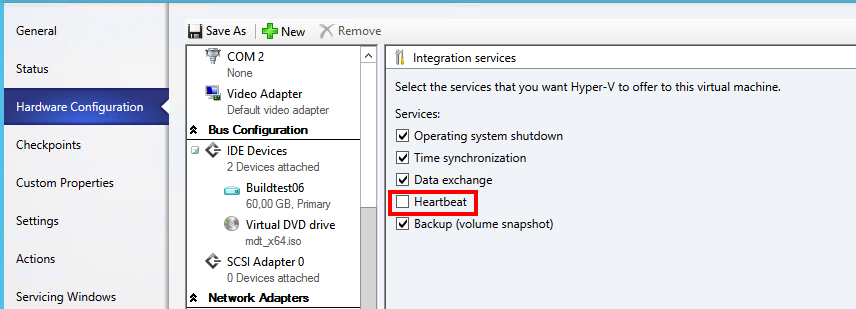
So what settings in the cluster resource does this madness? First of all, the Heartbeat setting on the cluster vm resource properties
This can be read on the technet site about Heatbeat setting for Hyper-V clusters:
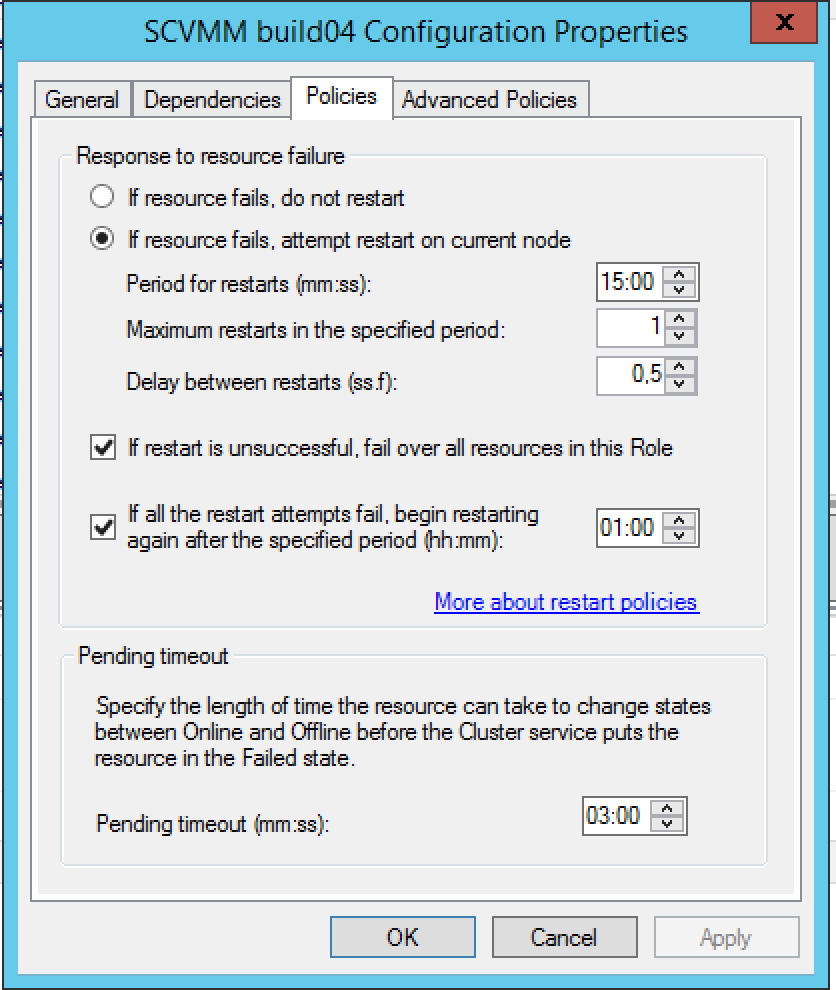
And then you have policy what the cluster should do after it thinks the vm has become unresponsive:
There are different ways to stop the cluster from rebooting the machine and one of them is to disable heartbeat check and another is to set the response to failure to do nothing,
The customer uses mostly VMM console and for them when building a new VM for MDT reference builds they can set the integrational services to disable heartbeat check and thus not get their work postponed by unwanted reboots.
During the search for why I checked Host Nic drivers as I thought that it might have something with a transfer error but could not find anything, positively the hosts got up on the latest nic firmware and drivers 😉 . My suspicion that it had to be the cluster was awaken after I had spun up a test VM that was not part of the cluster and that one succeeded in the build and transfer.
This is a rare case and I would say that in 99% of the cases you want the default behaviour to happened as a VM can become unresponsive and then the cluster can try a reboot to regain into operations..
Clarification: If you spin up a VM with a OS or pxe image that does not have integrational services it will not reboot the VM after the cluster timeout, the OS has to start sending heartbeat to the Hyper-V host and then it will be under surveillance and managed by the cluster until properly shut down!
Hope that this helps for someone out there wondering what happens…
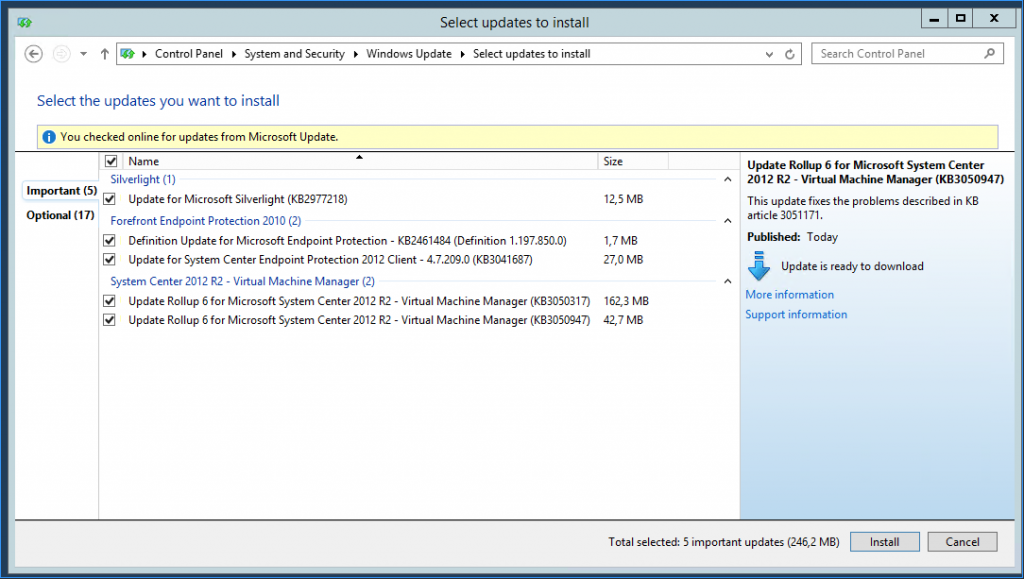
Noticed this evening that Microsoft released the UR6 for System Center and my interest is in Virtual Machine Manager so I wanted to test-install it and also connect to an Azure IaaS subscription as this was one of the new added features besides all fixes and also of course the other added feature with Generation 2 Service template support etc.
Here you can read more about the fixes and also if you do not use Microsoft Update, download the files.
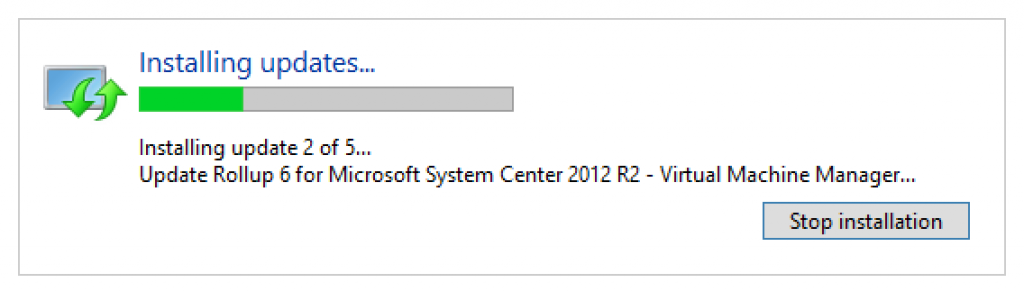
As I had my environment connected to the Internet I could press install,
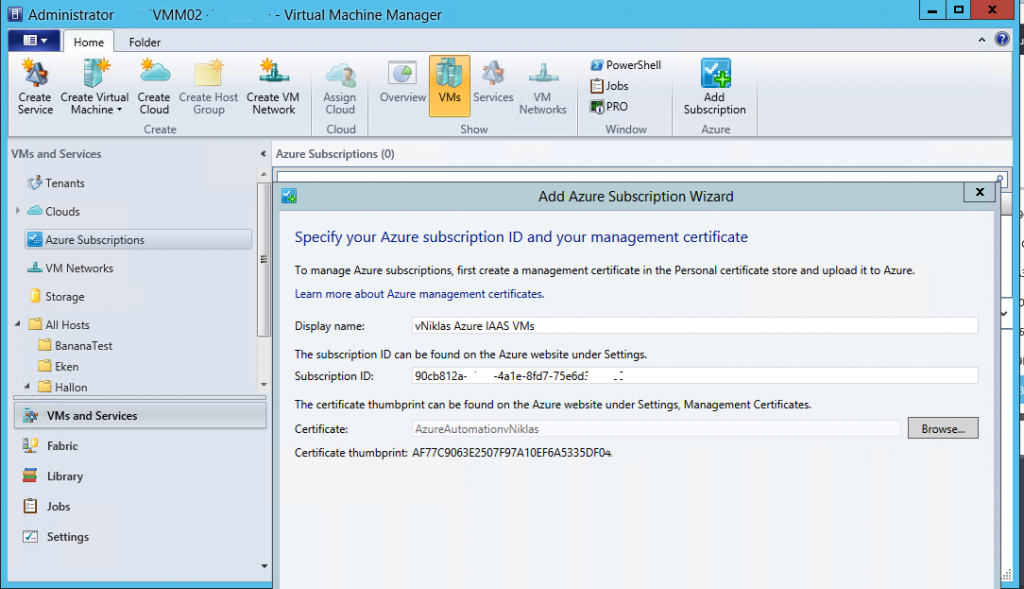
Once it was finished a reboot of the server had to be done and I could start to add Azure subscriptions to VMM. Here you have to use a management certificate and that is easily created with makecert if you do not have any other CA available!
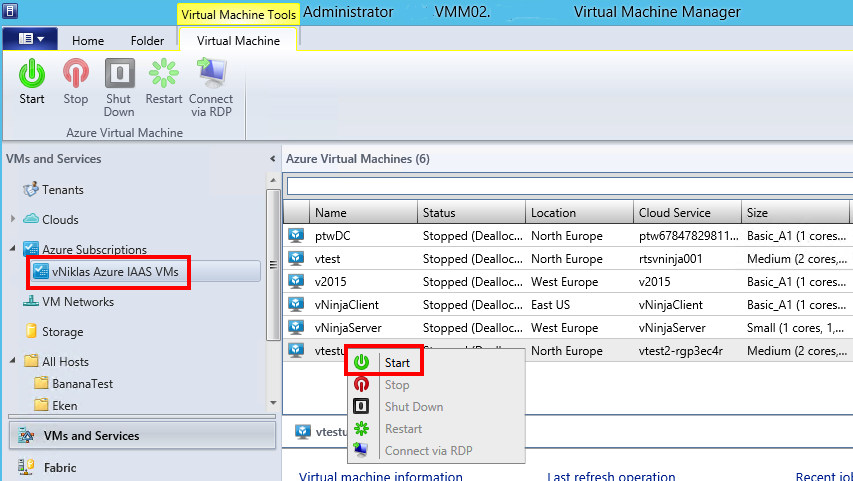
And when that is complete you can see my VM´s in Azure on the subscription and the commands that I can use on them,
After a week of Azure Ninja course at Microsoft Sweden I wanted to dig a bit deeper into Azure IaaS.
I found that the Update-AzureDisk had a new parameter that looked interesting -ResizedSizeInGB and I wanted to test that one in real action on the OS disk which resulted in a VM that could no longer be started :-(. As described in an earlier post it was a bit more difficult to extend a vhd for a VM in Azure before this powershell way and in those days you had to tear down the VM and throw it away and also the pointer to the blog and after that you could with a tool extend the blob.
So far it looked good but when I then tried to start the VM I got the error
This VM was provisioned from the gallery and after reading the blog about the changes in Azure and that the OS disk now could support 1 TB in size i also found this little text saying that it only applied to disks that was migrated to Azure and not the gallery items or already provisioned VM´s…
So I wanted to test the same thing as above for a migrated vhd, first of all I created a vhd on-premise with 140GB vhd and then used powershell Add-AzureVhd to upload it.
after that I created a VM and started it with no problems 🙂
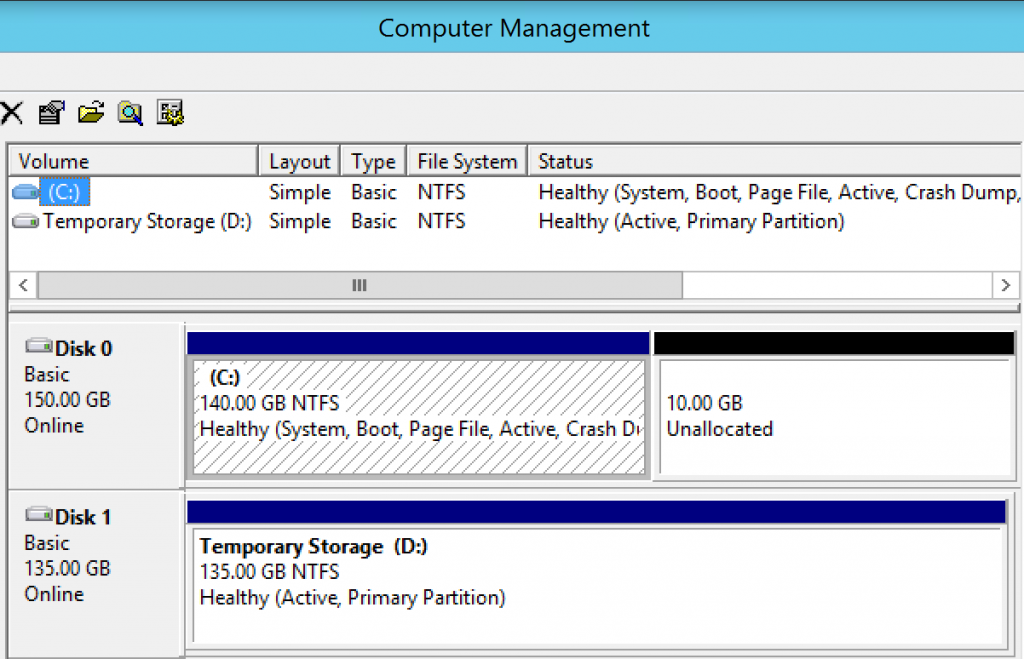
And then I ran the above resize parameter on this uploaded vhd to extend it to 150GB. With the PowerShell cmdlet I can apply this to a VM that is not running and do not need to remove any relations to the blob or VM´s.
Started it and as you can see it worked nicely
Here you can see when looking inside the VM and checking the Disk manager it shows the extra 10 GB
So watch out if you test to extend your Production VM´s VHD´s depending on where they have come from, although an OS volume does not need to be too large..
I have tested the Update-AzureDisk -ResizedSizeInGB on VM Data disks without any issues no matter if they were created or uploaded so this warning just points at the OS disk!